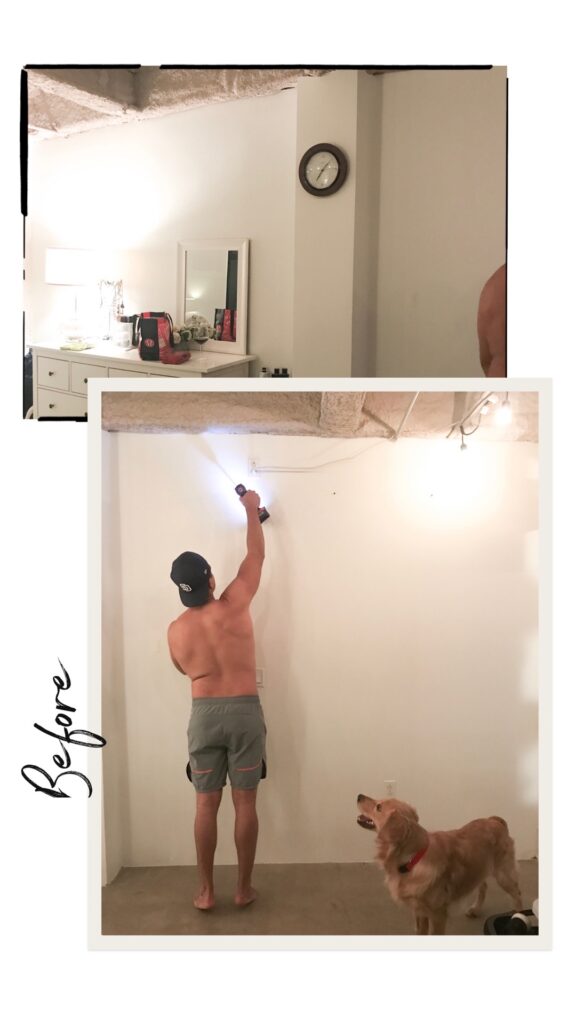
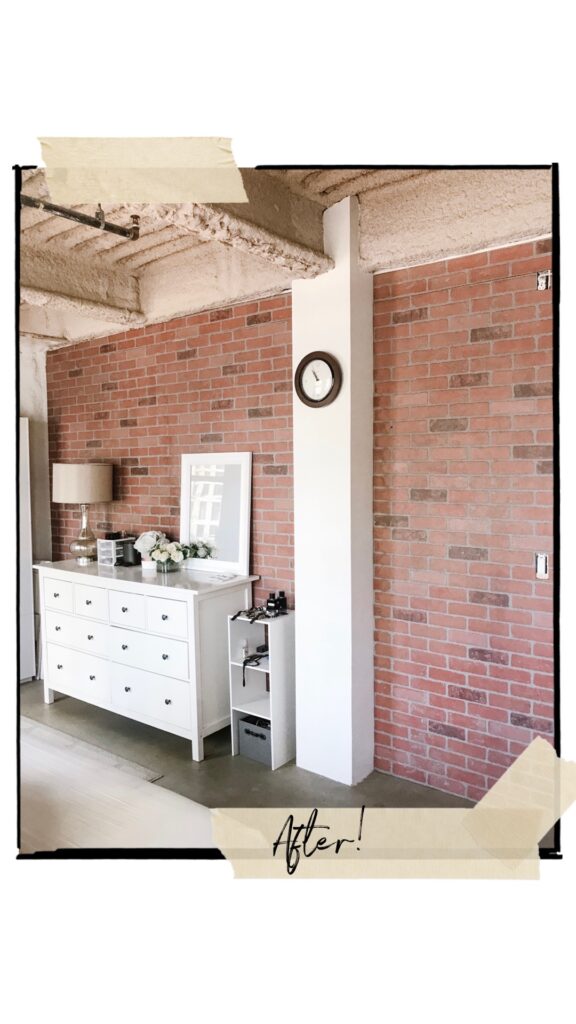
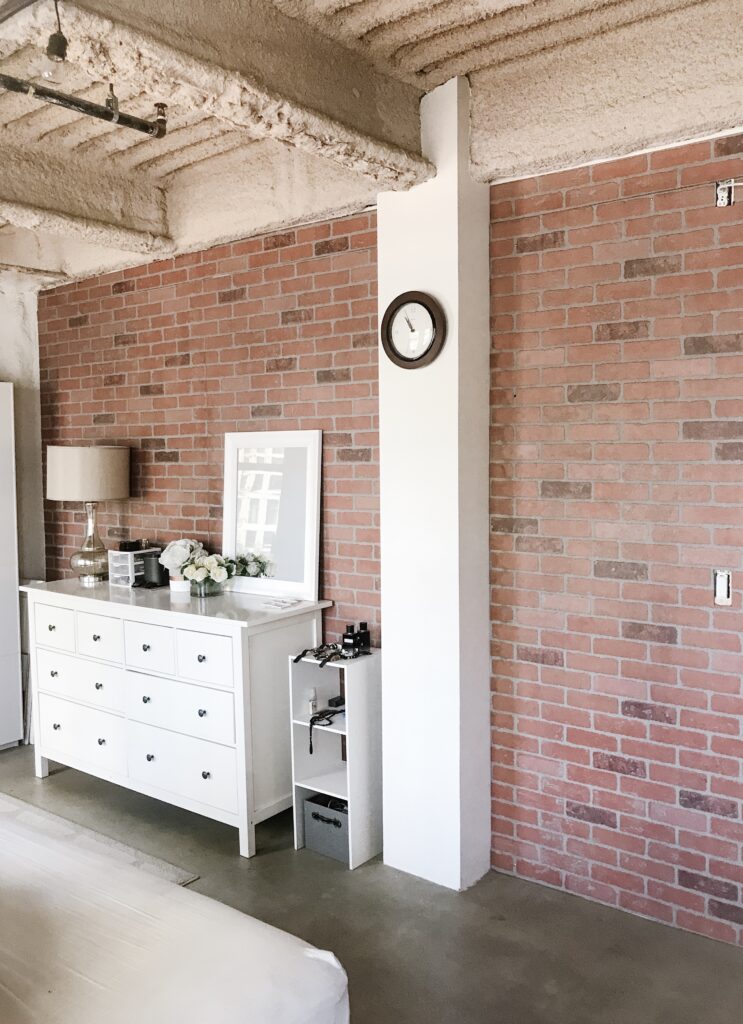
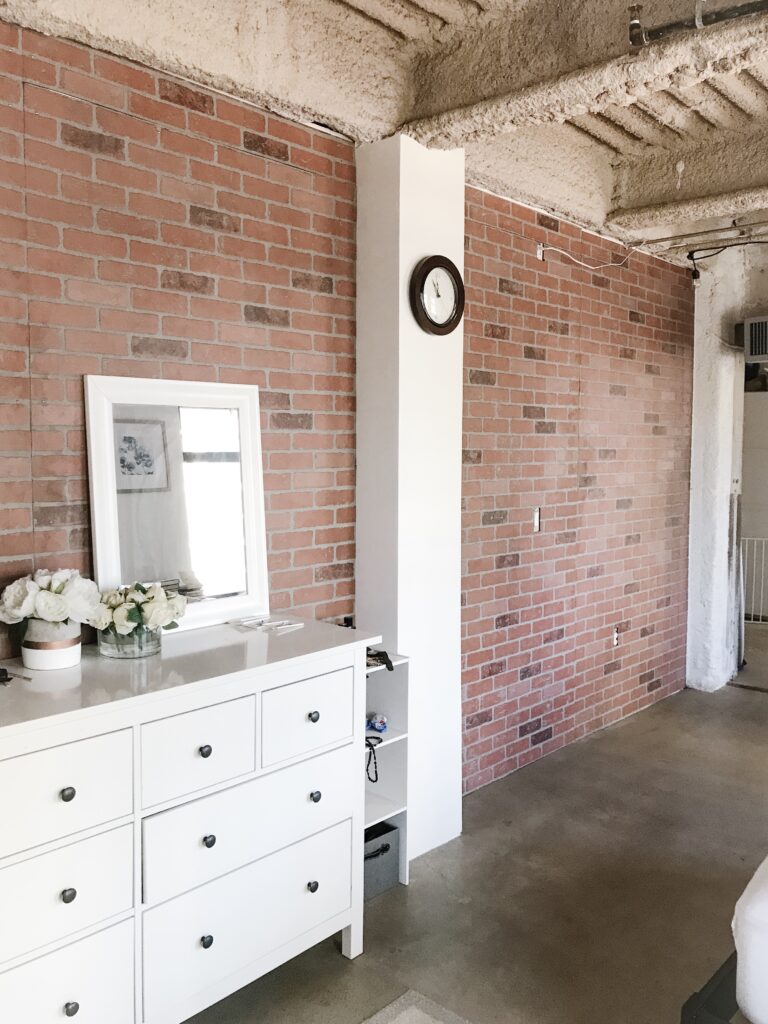
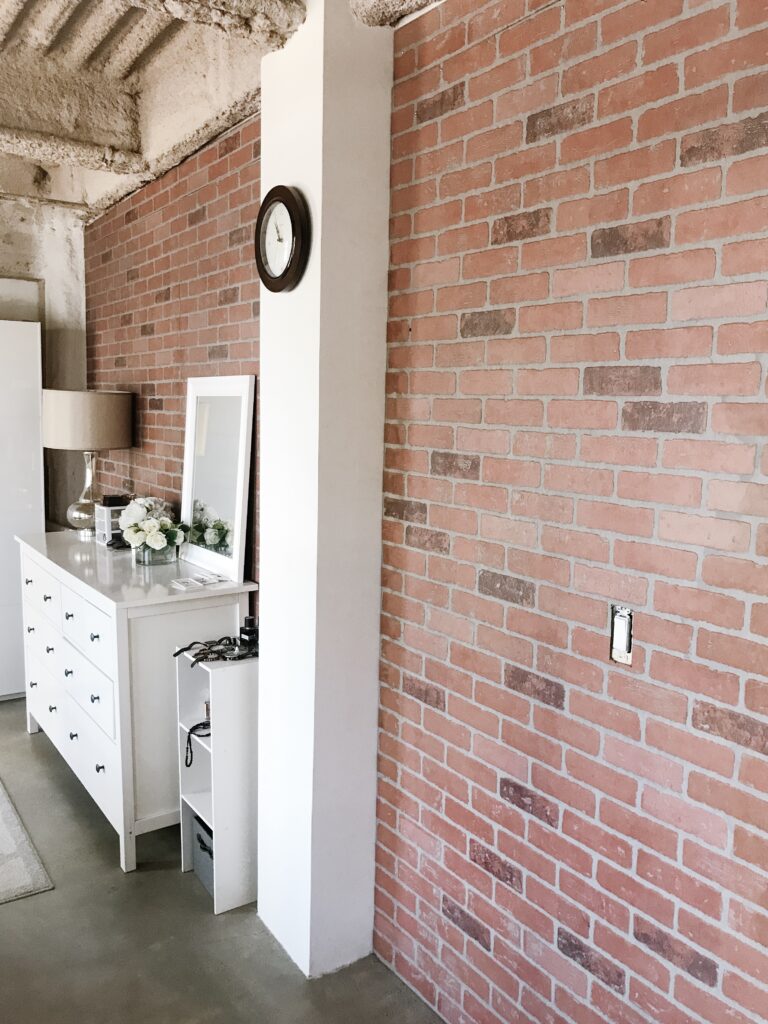
One of the perks of being a home owner is having the creative freedom to make updates and renovate whenever you want. Unfortunately, one-third of the American population are renters (like me!)—which leaves these individuals with little to no options when it comes to controlling the look and feel of their home. Sure, there is always furniture and decor pieces that can really spruce the place up, but in the end, there’s only so much you can do.
Many landlords offer the bare minimum with living necessities—running water, functioning heater, and a sanitary living space. Depending on your budget, these living conditions can vary and bonus features like backsplash, new appliances, and even double-pane windows can come with a price. And when you have a serious HGTV obsession, sometimes you can’t help but feel a little left out of the home renovation fun.
But, owning a home doesn’t have to be the only way to control the aesthetic of where you live (and it shouldn’t be!) In fact, there are plenty of ways you can make updates to your rented home without spending a ton of money, and most importantly, without causing long-term damage. This super simple faux brick wall is the perfect example of how you can transform your rented living space while maintaining a modest budget.
- Total Time: 4 hours
- Cost: Under $200
- Labor: 2 people minimum
Materials Needed For DIY Faux Brick Wall
Here’s what you’ll need for this DIY faux brick wall project:
- Kingston Brick Hardboard Wall Panel—The panels will be your biggest investment. They are pretty heavy duty and resemble a sheet of plywood except it has a faux brick texture on the front which makes it look and feel as close to brick as you can get. I found these at Home Depot for about $33 per panel but you can buy them online for $29. Depending on the size of the wall you plan on covering, the number of panels you’ll need will vary which will ultimately affect the cost of your project. These particular panels are 48 in. x 96 in. and the wall size of my project was two 8.5 ft x 8.5 ft walls for a grand total of 17 ft. by 17 ft. With that, I needed 6 panels to complete this project knowing that I would have a little bit left over.
- Skill Saw—If the wall you’re covering has electrical outlets or is not a perfect fit for the faux brick panels, you will need a skill saw. If you don’t have one, you can rent one from your local hardware store. We have a Milwaukee battery powered skill saw that’s pretty small and convenient to store. We completed this entire project in the middle of our loft so it’s a pretty convenient little tool when you need it.
- Level—You’ll need a large construction level for this project, not a small one for hanging picture frames.
- Screws—The type of hardware you’ll use will vary depending on the wall you plan on mounting them on. I used 1 in. screws, although I believe this was probably excessive and the project could have been done with smaller ones. Reason being, we live in a historic loft and the walls are sheetrock with an inch of plywood behind it. This is not typical in most homes so make sure to double check the type of wall you have.
- Power drill—A powerful drill is necessary. The faux brick panels are heavy duty and will make your project so much easier. We have a Ridgid Stealthforce 18V but any power drill will do.
- Pen or pencil—You will need a pen or pencil to mark the panels for any cuts that need to be made.
- Step ladder—A tall step ladder will be best for this project.
What You’ll Need
How To Install Faux Brick Wall Panels (Step-By-Step)
Use this simple step-by-step guide so you can install a faux brick wall in your own home!
Step 1: Prep the wall
Clear the wall and work space. Remove all outlet covers and any hardware in the wall.
Step 2: Plan it out
Measure the wall and determine where each panel will go and where your starting point will be. You’ll want to start installing on the most squared surface of the wall and work outwards installing from the ground-up.
Step 3: Arrange your panels
Decide which panel will go where on the wall. Make sure to line up the brick patterns for a seamless and natural look.
Step 4: Measure and mark outlet cuts
Measure any outlet cuts that need to be made and make your cut marks on the panels. Be sure to double check your measurements! You know the rule, measure twice, cut once.
Step 5: Cut outlet holes
This step is pretty self explanatory. If the wall doesn’t have outlets, you won’t have to worry about this.
Step 6: Install panels
Place each panel onto the wall, one at a time, and install by placing screws along the outer edges. Start installing the screws from the ground up placing a screw in the bottom corners and one screw along each edge/perimeter for every ¼ of the panel. (Approximately 8 screws per panel)
Step 7: Fill empty spaces
Repeat steps 3-6 for any small areas that need to be covered until the entire wall is covered with faux brick paneling.
Step 8: Place electrical covers back onto the wall
At this point in the process, you can relax! You’re finished!
Important Notes For Installation & Removal
This faux brick wall DIY project is great for anyone, not just renters. But, one note that I have that’s particularly important for renters is to avoid using adhesive during installation. By using an adhesive in addition to screws, you risk additional damage to the sheetrock upon removal. These types of construction adhesives are very strong and will likely pull off the outer layer of your sheetrock. Using only screws will simply leave holes that would need to be patched and sanded when you move out. This is significantly cheaper to fix than stripped sheetrock. You can even patch the holes yourself and avoid a deduction in your security deposit all together.

