Homemaking
How to Make Homemade Ice Cream, Clean & Simple
Quick Answer
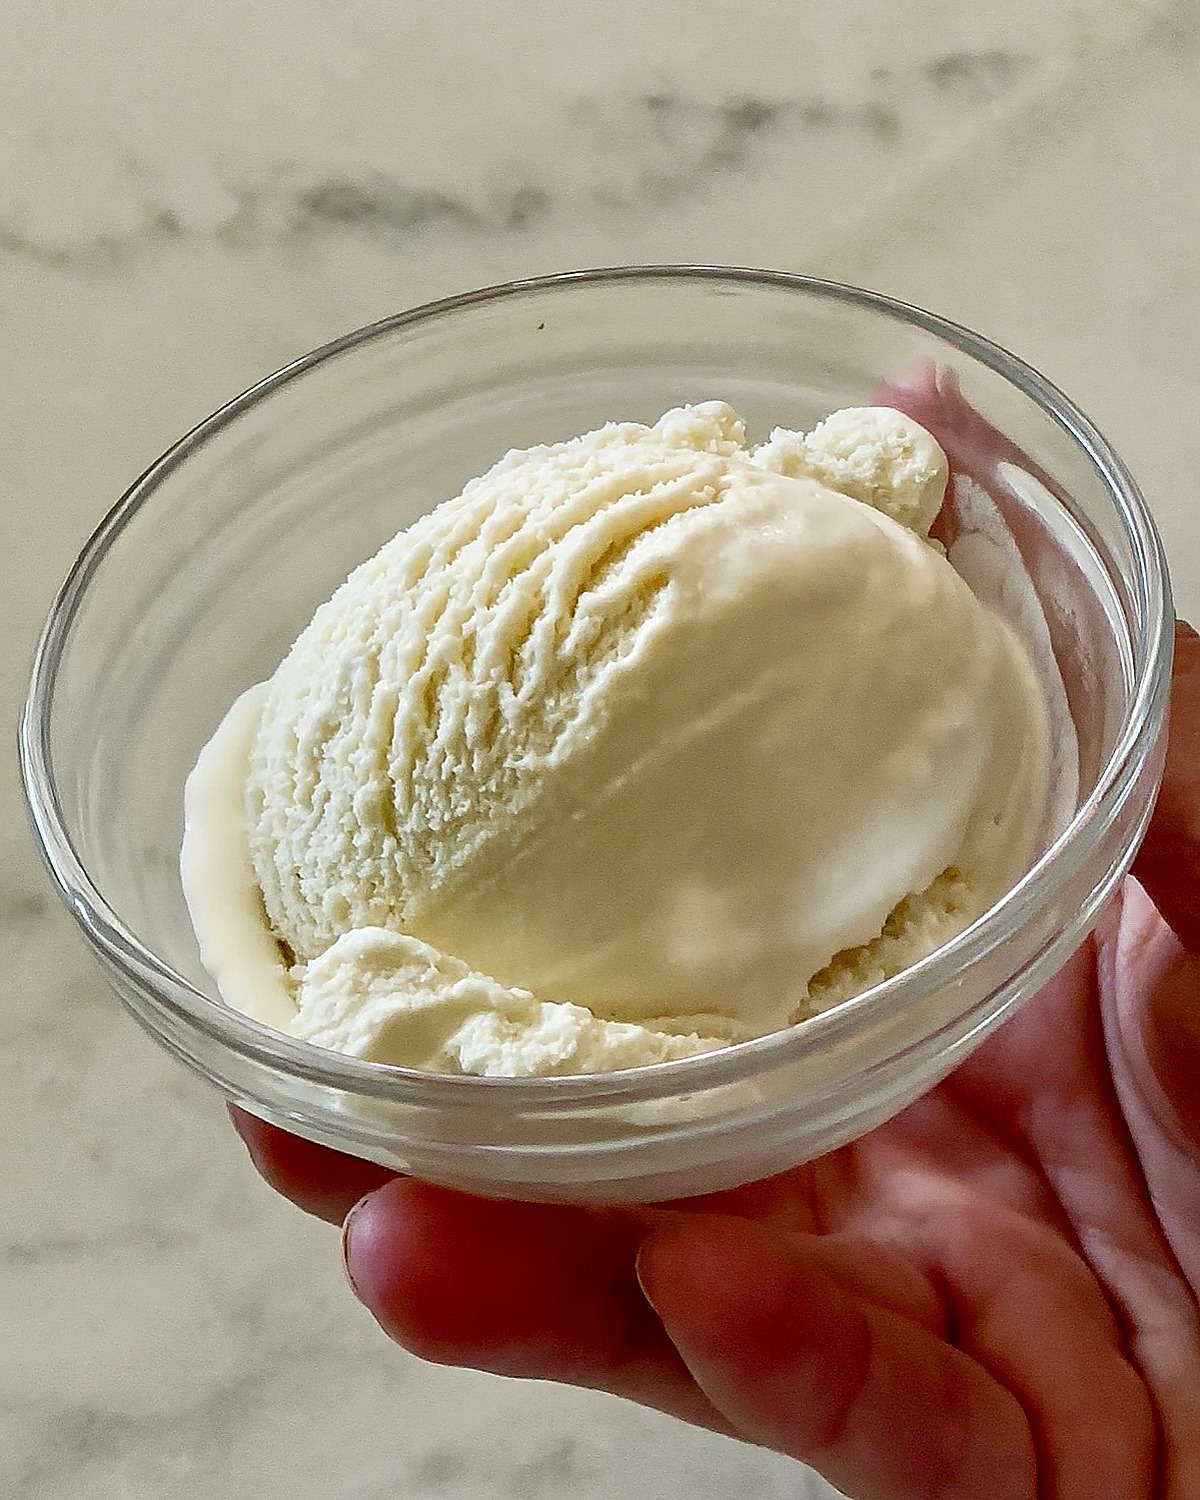
Homemade ice cream is easier than you think — and far cleaner than store-bought. This vanilla base uses just six simple ingredients, sweetened with honey instead of refined sugar and free of stabilizers and dyes. Gently cooking the base makes it velvety; then chill it, churn it in any ice cream maker, and enjoy soft serve in about 30 minutes.
This ice cream attachment for my stand mixer might be the best Mother’s Day gift I’ve ever gotten — I only wish I’d had it sooner. I’ve made batch after batch since, and the texture is unreal: thick, creamy, and slow-melting, the way the good pints at the store are, except this is made with six simple ingredients I can actually pronounce. No corn syrup, no gums or stabilizers, no dyes, and no refined sugar — just cream, milk, honey, salt, vanilla, and egg yolks.
Once you have the base down, it becomes the jumping-off point for everything: chocolate, strawberry, coffee, cookies and cream, or whatever mix-ins you’re craving. Below is the exact recipe I use, the little bit of science that makes it so creamy, how to add mix-ins without ruining the texture, and how to make it no matter which ice cream maker you have — or are thinking about getting.
Why make ice cream at home
If you flip over a carton of most store-bought ice cream, you’ll find a list that reads more like a chemistry set than a dessert: corn syrup, mono- and diglycerides, gums, artificial flavors, and dyes. They’re there to make ice cream cheap to produce and shelf-stable for months. Homemade ice cream needs none of it. With real cream and a natural sweetener, you get a cleaner, richer scoop — and you decide exactly what goes in.
It’s also genuinely easy. Most of the time is hands-off chilling and churning, and once the base is in your routine, you can turn out a fresh batch in an afternoon for less than the cost of a premium pint.
The clean ingredients
Six ingredients, each doing a real job:
- Heavy cream — the backbone. Its fat is what makes ice cream rich and slow-melting, and it keeps the texture smooth instead of icy.
- Whole milk — lightens the base so it’s creamy without being heavy, and adds the milk solids that give ice cream body.
- Honey — a clean, natural sweetener in place of refined sugar. Bonus: honey lowers the freezing point a touch, so the ice cream stays softer and more scoopable straight from the freezer.
- Salt — not optional. A little salt sharpens the dairy and makes everything taste more like itself.
- Vanilla extract — use the real thing, not imitation. It’s the whole flavor of a vanilla base, so it’s worth it.
- Egg yolks — the secret to a velvety, custard-style scoop. More on exactly why below.
Should you cook the base? (the creamy science)
This is the question that decides your texture, so it’s worth understanding. You can make ice cream two ways: cooked (a custard base, sometimes called French-style) or no-cook (you just whisk everything together cold). My recipe is cooked, and here’s why it’s worth the extra fifteen minutes.
Egg yolks bring two things to the party: protein and a natural emulsifier called lecithin. When you gently heat the base to around 170°F, those yolk proteins begin to unfold and link together, thickening the liquid into a thin custard that coats the back of a spoon. At the same time, the lecithin helps bind the fat and water so they stay evenly dispersed instead of separating.
Why does that matter once it’s frozen? A thicker, well-emulsified base freezes into smaller ice crystals — and smaller crystals are exactly what your tongue reads as “creamy” and “velvety” instead of “icy.” Gentle cooking also lightly pasteurizes the yolks, so there’s no raw-egg worry.
The one rule: keep it low and slow and don’t let it climb past about 180°F, or the yolks will scramble. A thermometer takes all the guesswork out of it.
Raw & no-cook ice cream
Prefer to skip the stove? You can. A no-cook base trades a little texture for a lot of convenience, and the difference is almost entirely about texture rather than flavor.
No-cook pros: it’s fast, it’s nearly foolproof, and because nothing is heated, the dairy tastes bright and fresh. If you’re short on time or making ice cream with kids, it’s a great option.
No-cook cons: without the cooked-custard step, the base is thinner, so it tends to freeze with slightly larger ice crystals — a touch icier and quicker to melt, and not quite as plush on the spoon. It also firms up harder in the freezer, so you’ll want to let it sit out a few minutes before scooping.
A note on raw eggs: if you want the richness of yolks without cooking, use pasteurized eggs to stay food-safe — or skip the eggs entirely and make a Philadelphia-style base (just cream, milk, sweetener, and vanilla). It’s the cleanest, simplest version of all; it’s just less custardy and a little icier. You’ll find that egg-free version in the substitutions below.
The recipe: clean vanilla ice cream
This is the cooked-custard base from the intro — the one with the unreal texture. It makes about a quart and doubles as the base for nearly any flavor (see mix-ins below).
Recipe
Clean Vanilla Ice Cream
A velvety, custard-style vanilla ice cream made with six clean ingredients and sweetened with honey instead of refined sugar.
Ingredients
- 2 cups heavy cream
- 1 cup whole milk
- 1/2 cup honey
- 1 tsp salt
- 1.5 tbsp vanilla extract
- 6 egg yolks
Instructions
- In a saucepan over medium-low heat, combine the heavy cream, whole milk, honey, salt, and vanilla. Warm, stirring, until the mixture reaches 120°F.
- In a separate bowl, whisk the egg yolks. Slowly ladle a little of the warm cream mixture into the yolks while whisking constantly, to temper them without cooking them.
- Pour the tempered yolks back into the saucepan. Cook over medium-low, whisking continuously, until the base reaches 170°F and lightly coats the back of a spoon.
- Pour the base through a fine-mesh strainer into a bowl, cover, and chill 3–4 hours (or overnight) until very cold.
- Pour the cold base into your frozen ice cream maker and churn about 30 minutes, until it reaches the texture of soft serve.
- Serve immediately as soft serve, or transfer to a container and freeze 2–4 hours for creamy, scoopable ice cream.
Choose your ice cream maker (every method)
Any of these will turn this base into ice cream — they just get there differently. Here’s how each one works, who it’s best for, and exactly how to use it. Whichever you have, the base recipe stays the same; only the churning step changes.
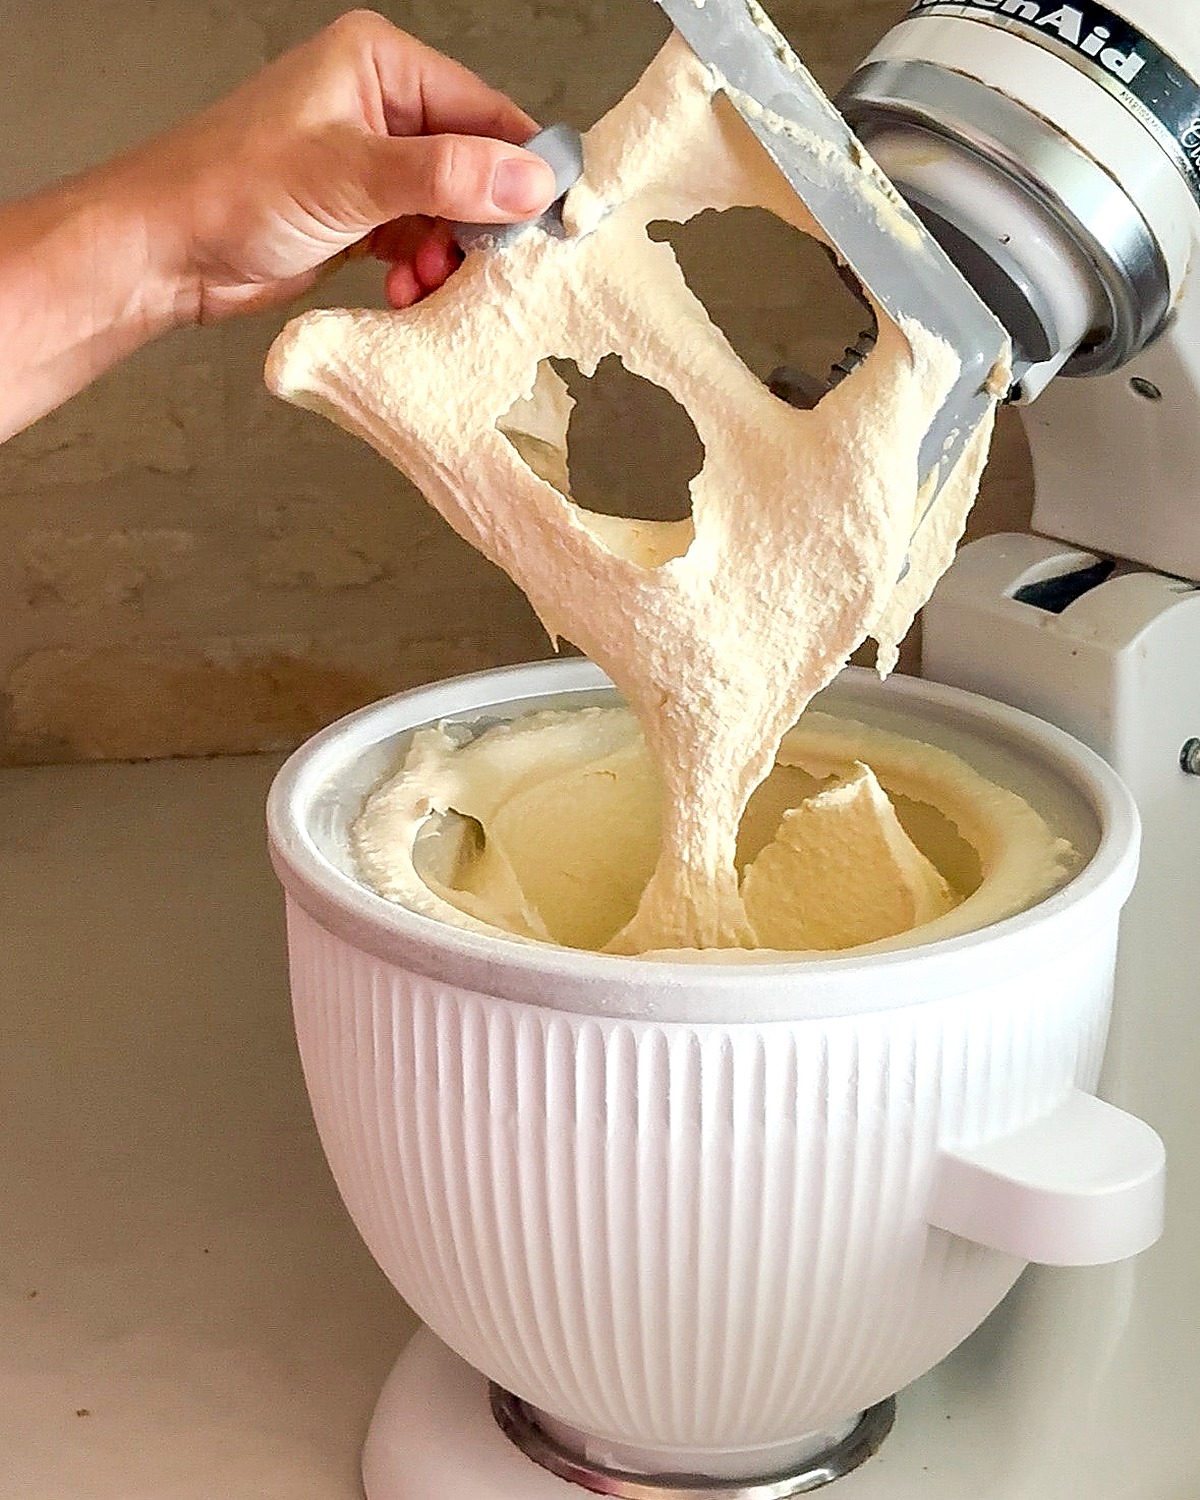
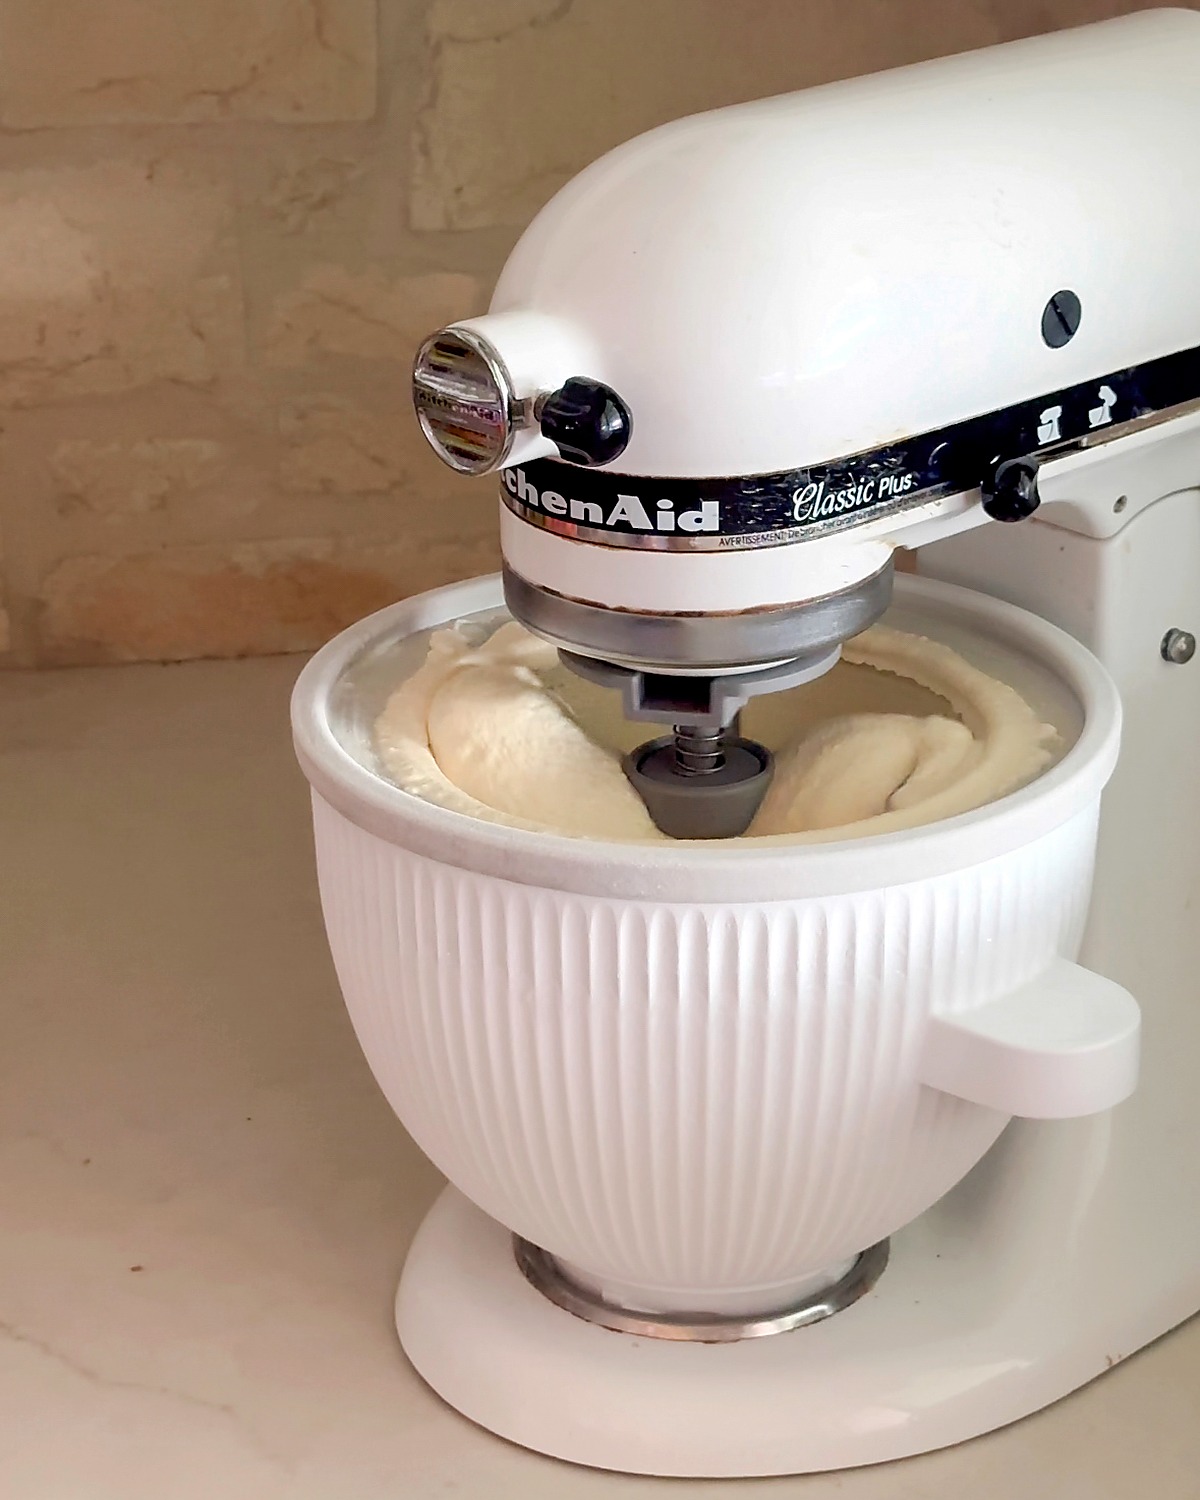
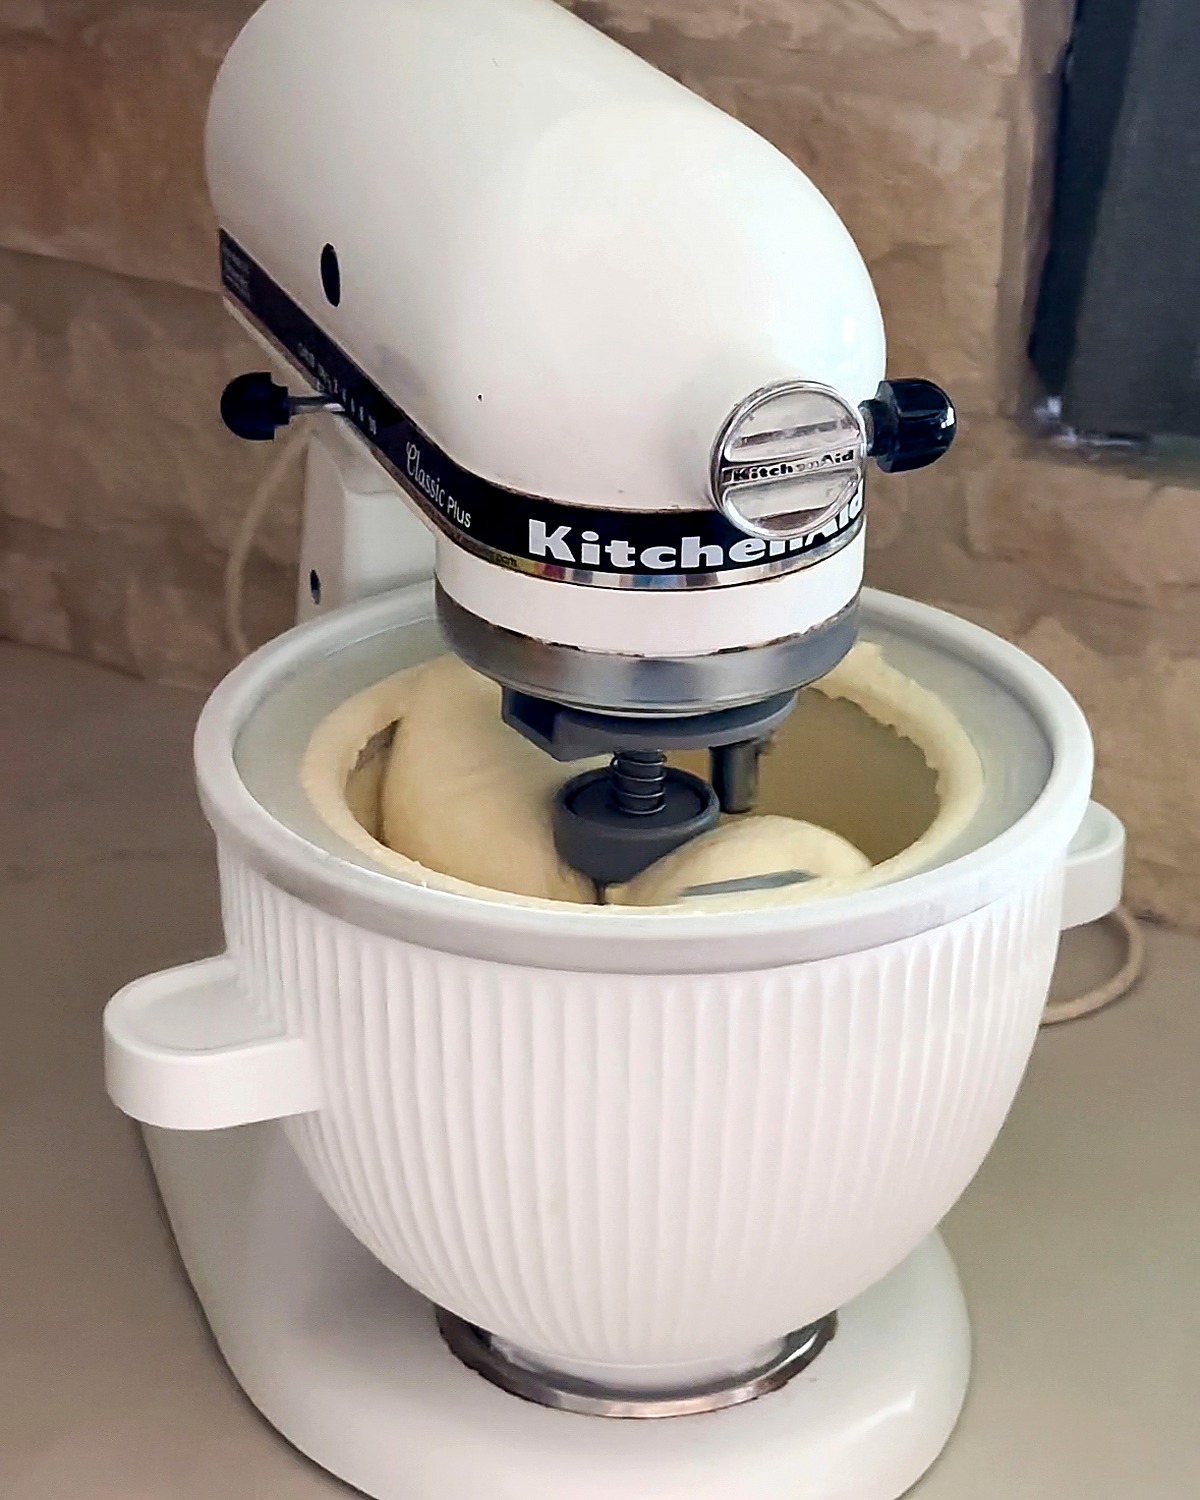
KitchenAid stand mixer ice cream attachment
Best for: anyone who already owns a KitchenAid and doesn’t want another appliance to store.
This is the one I have and love. It’s a freezer-bowl attachment, so the bowl does the freezing and your mixer does the churning.
- Freeze the bowl at least 15–24 hours ahead — it needs to be completely solid (give it a shake; you shouldn’t hear liquid sloshing).
- Attach the frozen bowl and the dasher to your stand mixer and set it to the lowest “stir” speed.
- Pour in the chilled base and churn about 20–30 minutes, until it looks like soft serve.
- Serve right away, or freeze 2–4 hours to firm up.
Shop it: KitchenAid ice cream attachment.
Cuisinart ice cream maker
Best for: a dedicated, affordable maker that delivers great results — just plan ahead to freeze the bowl.
- Freeze the canister 16–24 hours ahead, until fully solid.
- Turn the machine on first, then pour the chilled base into the spinning bowl. (Starting it first keeps the base from freezing to the sides in a ring.)
- Churn 20–25 minutes, until thick and soft-serve textured.
- Serve, or freeze to scoopable.
Shop it: Cuisinart ice cream maker.
Breville Smart Scoop (compressor)
Best for: back-to-back batches and zero planning — the splurge that skips the frozen-bowl step.
A compressor machine freezes as it churns, so there’s no bowl to pre-freeze and no waiting.
- Pour the chilled base straight into the bowl — no pre-freezing needed.
- Select your hardness setting and let it run (roughly 30–60 minutes depending on the setting).
- It will hold the ice cream cold after it finishes, so it’s perfect for making several flavors in a row.
Shop it: Breville Smart Scoop.
Ninja Creami (freeze, then spin)
Best for: single-pint batches, lots of flavors, and easy cleanup. Note the texture runs denser, more like gelato.
The Creami works completely differently from the others: instead of churning a cold liquid, you freeze the base solid first, then a blade shaves and spins it into ice cream.
- Pour the chilled base into a Creami pint (don’t fill past the max line), cover, and freeze it flat for 24 hours, until solid.
- Run it on the “Ice Cream” setting — it’ll process the frozen block into ice cream.
- If the first spin looks crumbly or powdery, add a splash of milk or cream and use “Re-spin.”
- To add mix-ins, make a hole in the center after the first spin, drop them in, and run the “Mix-In” program.
Shop it: Ninja Creami.
Want to see all of them — plus pints, scoops, and storage containers — in one place?

Flavors & mix-ins
The vanilla base is really a blank canvas. Here’s how to take it anywhere — and, just as importantly, when to add things so the texture stays right.
Flavor the base (before churning)
Anything that flavors the ice cream throughout goes in while you make the base — usually whisked into the warm mixture or the chilled base before it churns:
- Chocolate — whisk 1/3 cup cocoa powder (or melt in chopped chocolate) into the warm base.
- Coffee — steep 2 tbsp coarsely ground coffee or espresso in the warm base, then strain.
- Strawberry — fold 1 cup mashed, lightly sweetened berries into the chilled base before churning.
- Mint — add 1/2 to 1 tsp peppermint extract to the chilled base (start small).
Solid mix-ins (the last 1–2 minutes of churning)
Chips, chopped candy, cookie pieces, brownie bits, toasted nuts, sprinkles — add these in the final 1–2 minutes of churning. Add them too early and they sink, break down, or bog the machine; add them at the end and they stay evenly distributed and intact. (If you have a Ninja Creami, use the dedicated “Mix-In” program instead, as described above.)
Swirls (when you transfer to the container)
Fudge, caramel, jam, cookie butter, and other ribbons should not go in the machine — they’d just blend in or seize up. Instead, layer them by the spoonful as you transfer the churned ice cream into your freezer container: a scoop of ice cream, a drizzle of sauce, repeat, then drag a knife or skewer through it once or twice to swirl. Let thick caramel or fudge cool to barely warm first so it ribbons instead of melting the ice cream.
Substitutions & a no-cook alternative
A few easy swaps to fit how you eat:
- Sweetener: maple syrup works one-for-one in place of honey for a different but equally clean flavor. Adjust to taste.
- Dairy-free: swap the heavy cream for full-fat coconut cream and the whole milk for canned coconut milk. Keep the yolks for a custard, or see the egg-free version below for fully vegan.
- Lighter: shift the ratio toward more milk and less cream — just know it will freeze a bit icier.
No-cook, egg-free alternative (Philadelphia-style): when you want ice cream with almost no effort, whisk together 2 cups heavy cream, 1 cup whole milk, 1/2 cup honey, 1 tsp salt, and 1.5 tbsp vanilla until the honey dissolves. Skip the stove and the yolks entirely. Chill, then churn exactly as in the recipe. It’s the cleanest, simplest version — just expect a slightly icier, less custardy scoop. A few tablespoons of softened cream cheese whisked in adds back some of that body if you want it.
Storing & serving
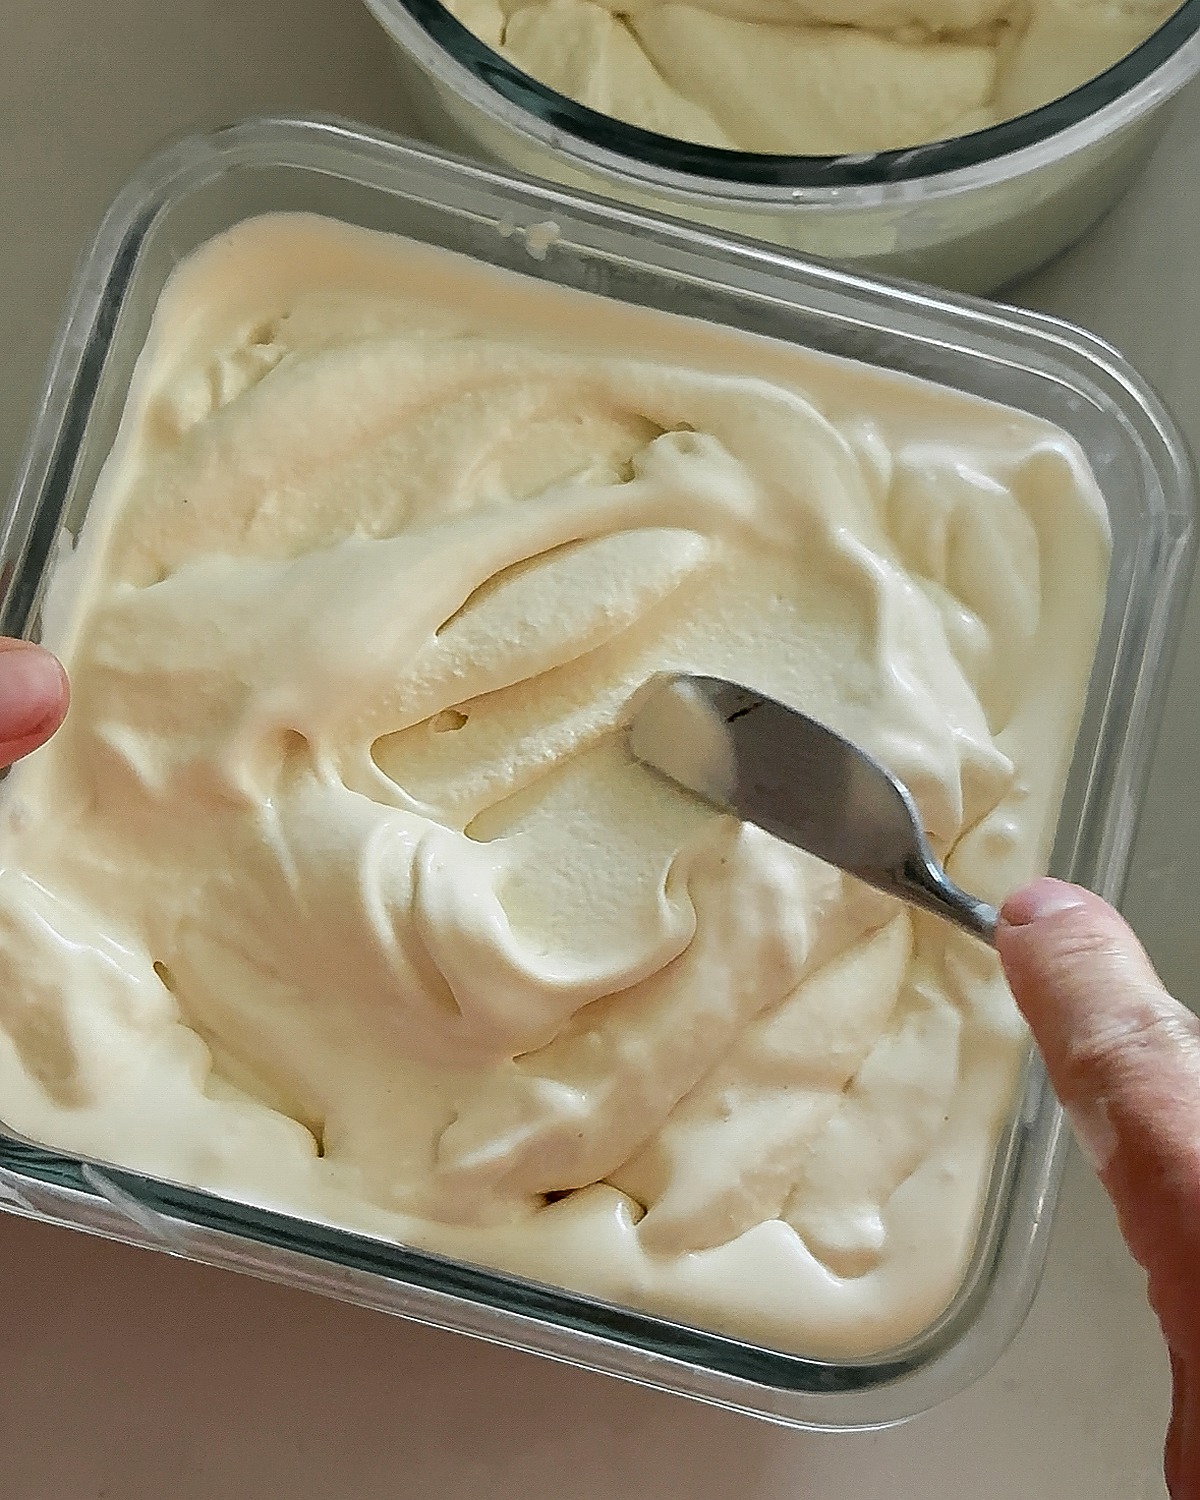
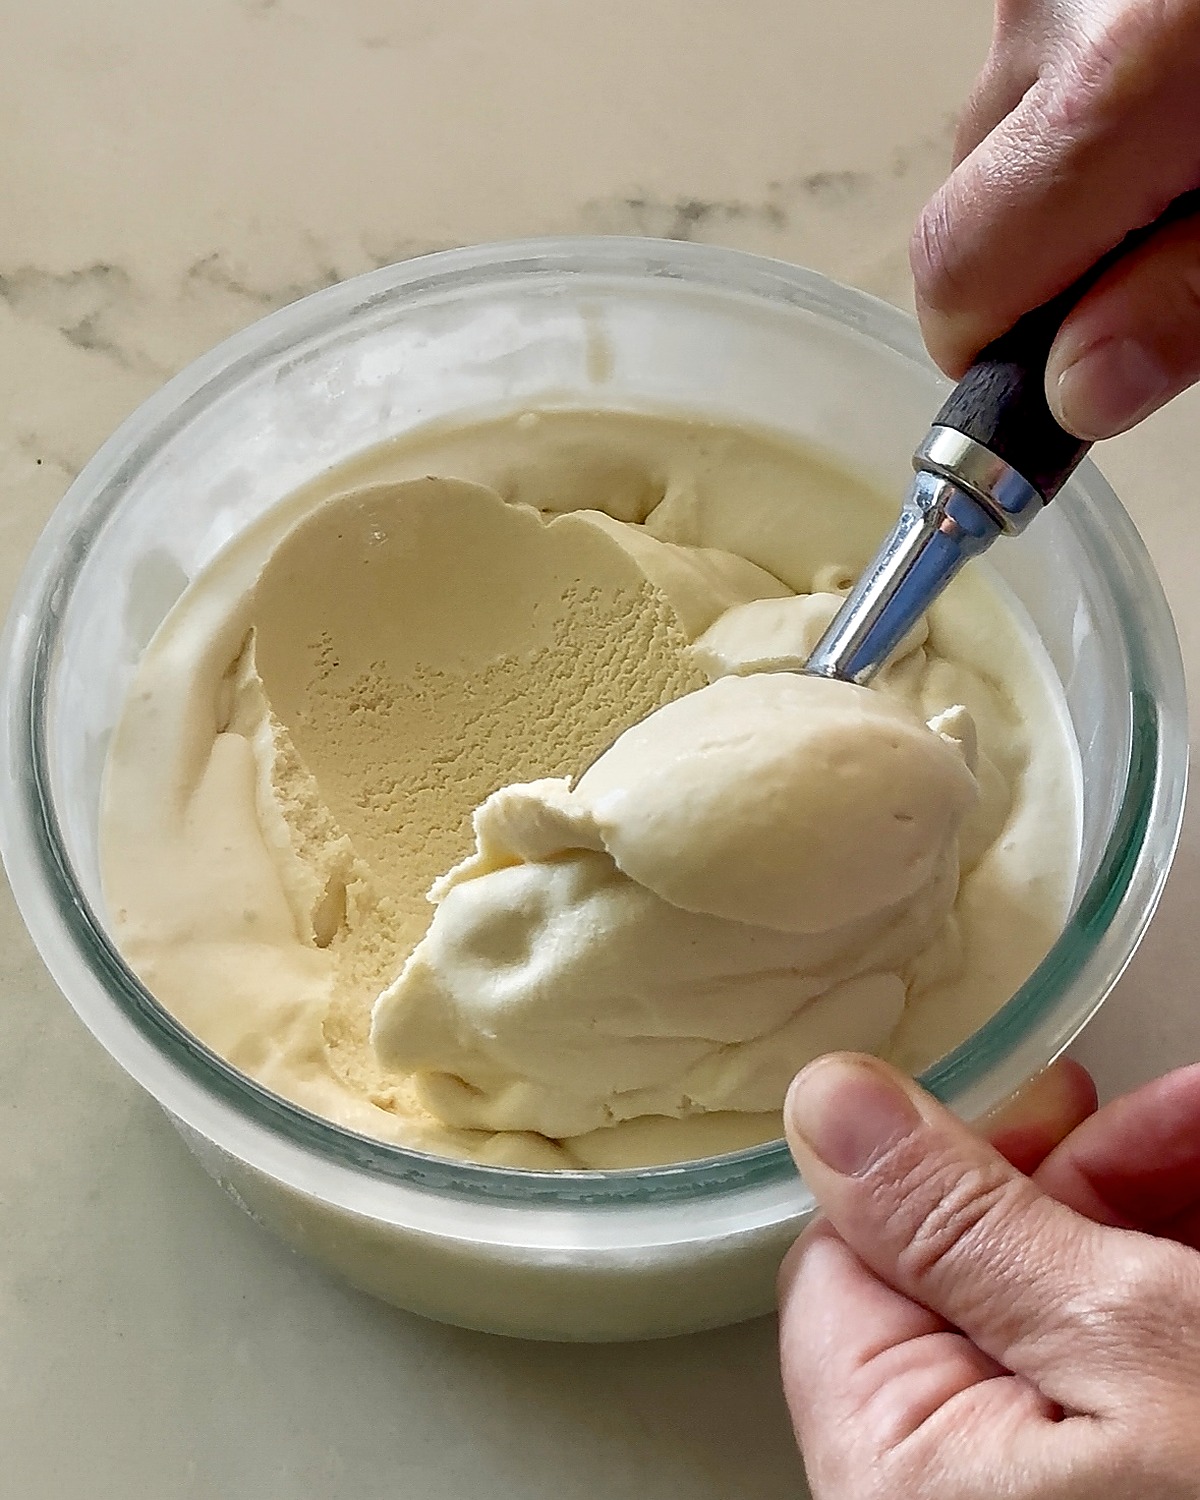
For soft serve, eat it straight from the machine. For scoopable ice cream, pack it into a chilled, shallow container, press a piece of parchment directly onto the surface (this stops ice crystals from forming), seal, and freeze 2–4 hours.
Homemade ice cream has no anti-freeze additives, so it freezes harder than store-bought — that’s the trade-off for clean ingredients. Let it sit on the counter 5–10 minutes before scooping. It’s best within the first week or two, while the texture is at its creamiest.
Homemade ice cream FAQ
What are the cleanest ingredients for homemade ice cream?
A clean base needs just heavy cream, whole milk, a natural sweetener like honey or maple syrup, salt, real vanilla extract, and egg yolks. That’s it — no corn syrup, gums, stabilizers, or artificial dyes, which is what separates homemade from most store-bought pints.
Do you have to cook the ice cream base?
No, but cooking it makes a noticeable difference. Gently heating the base with egg yolks to about 170°F lets the yolk proteins thicken it into a custard and the lecithin emulsify the fat, which means smaller ice crystals and a creamier, more velvety scoop. A no-cook base is faster but freezes slightly icier.
How do you make ice cream without refined sugar?
Sweeten the base with honey or maple syrup instead of white sugar. Honey also lowers the freezing point slightly, so the ice cream stays a little softer and easier to scoop straight from the freezer.
When do you add mix-ins like candy, fudge, or caramel?
Add solid mix-ins like chopped candy, chips, or cookie pieces in the last 1–2 minutes of churning so they stay intact and evenly distributed. Add swirls like fudge or caramel by hand as you transfer the ice cream to its container, layering and swirling with a knife rather than churning them in.
Can you make this without an ice cream maker?
Yes. A Ninja Creami freezes the base solid and then spins it into ice cream, so it doesn’t churn a liquid at all. Without any machine, you can freeze the base in a shallow dish and whisk it every 30 minutes for a few hours, though the texture won’t be as smooth as a churned or spun batch.
Why is my homemade ice cream so hard?
Homemade ice cream has none of the additives that keep store-bought scoopable, so it freezes firmer. Sweetening with honey helps, and the simplest fix is to let it sit on the counter for 5–10 minutes before scooping.